Center Belt
Here you can find the instructions how to Center the Belt on your Belt printer.
1. Loosen the scraper.
Move the printer to the edge of a table to have room to work underneat the printer.
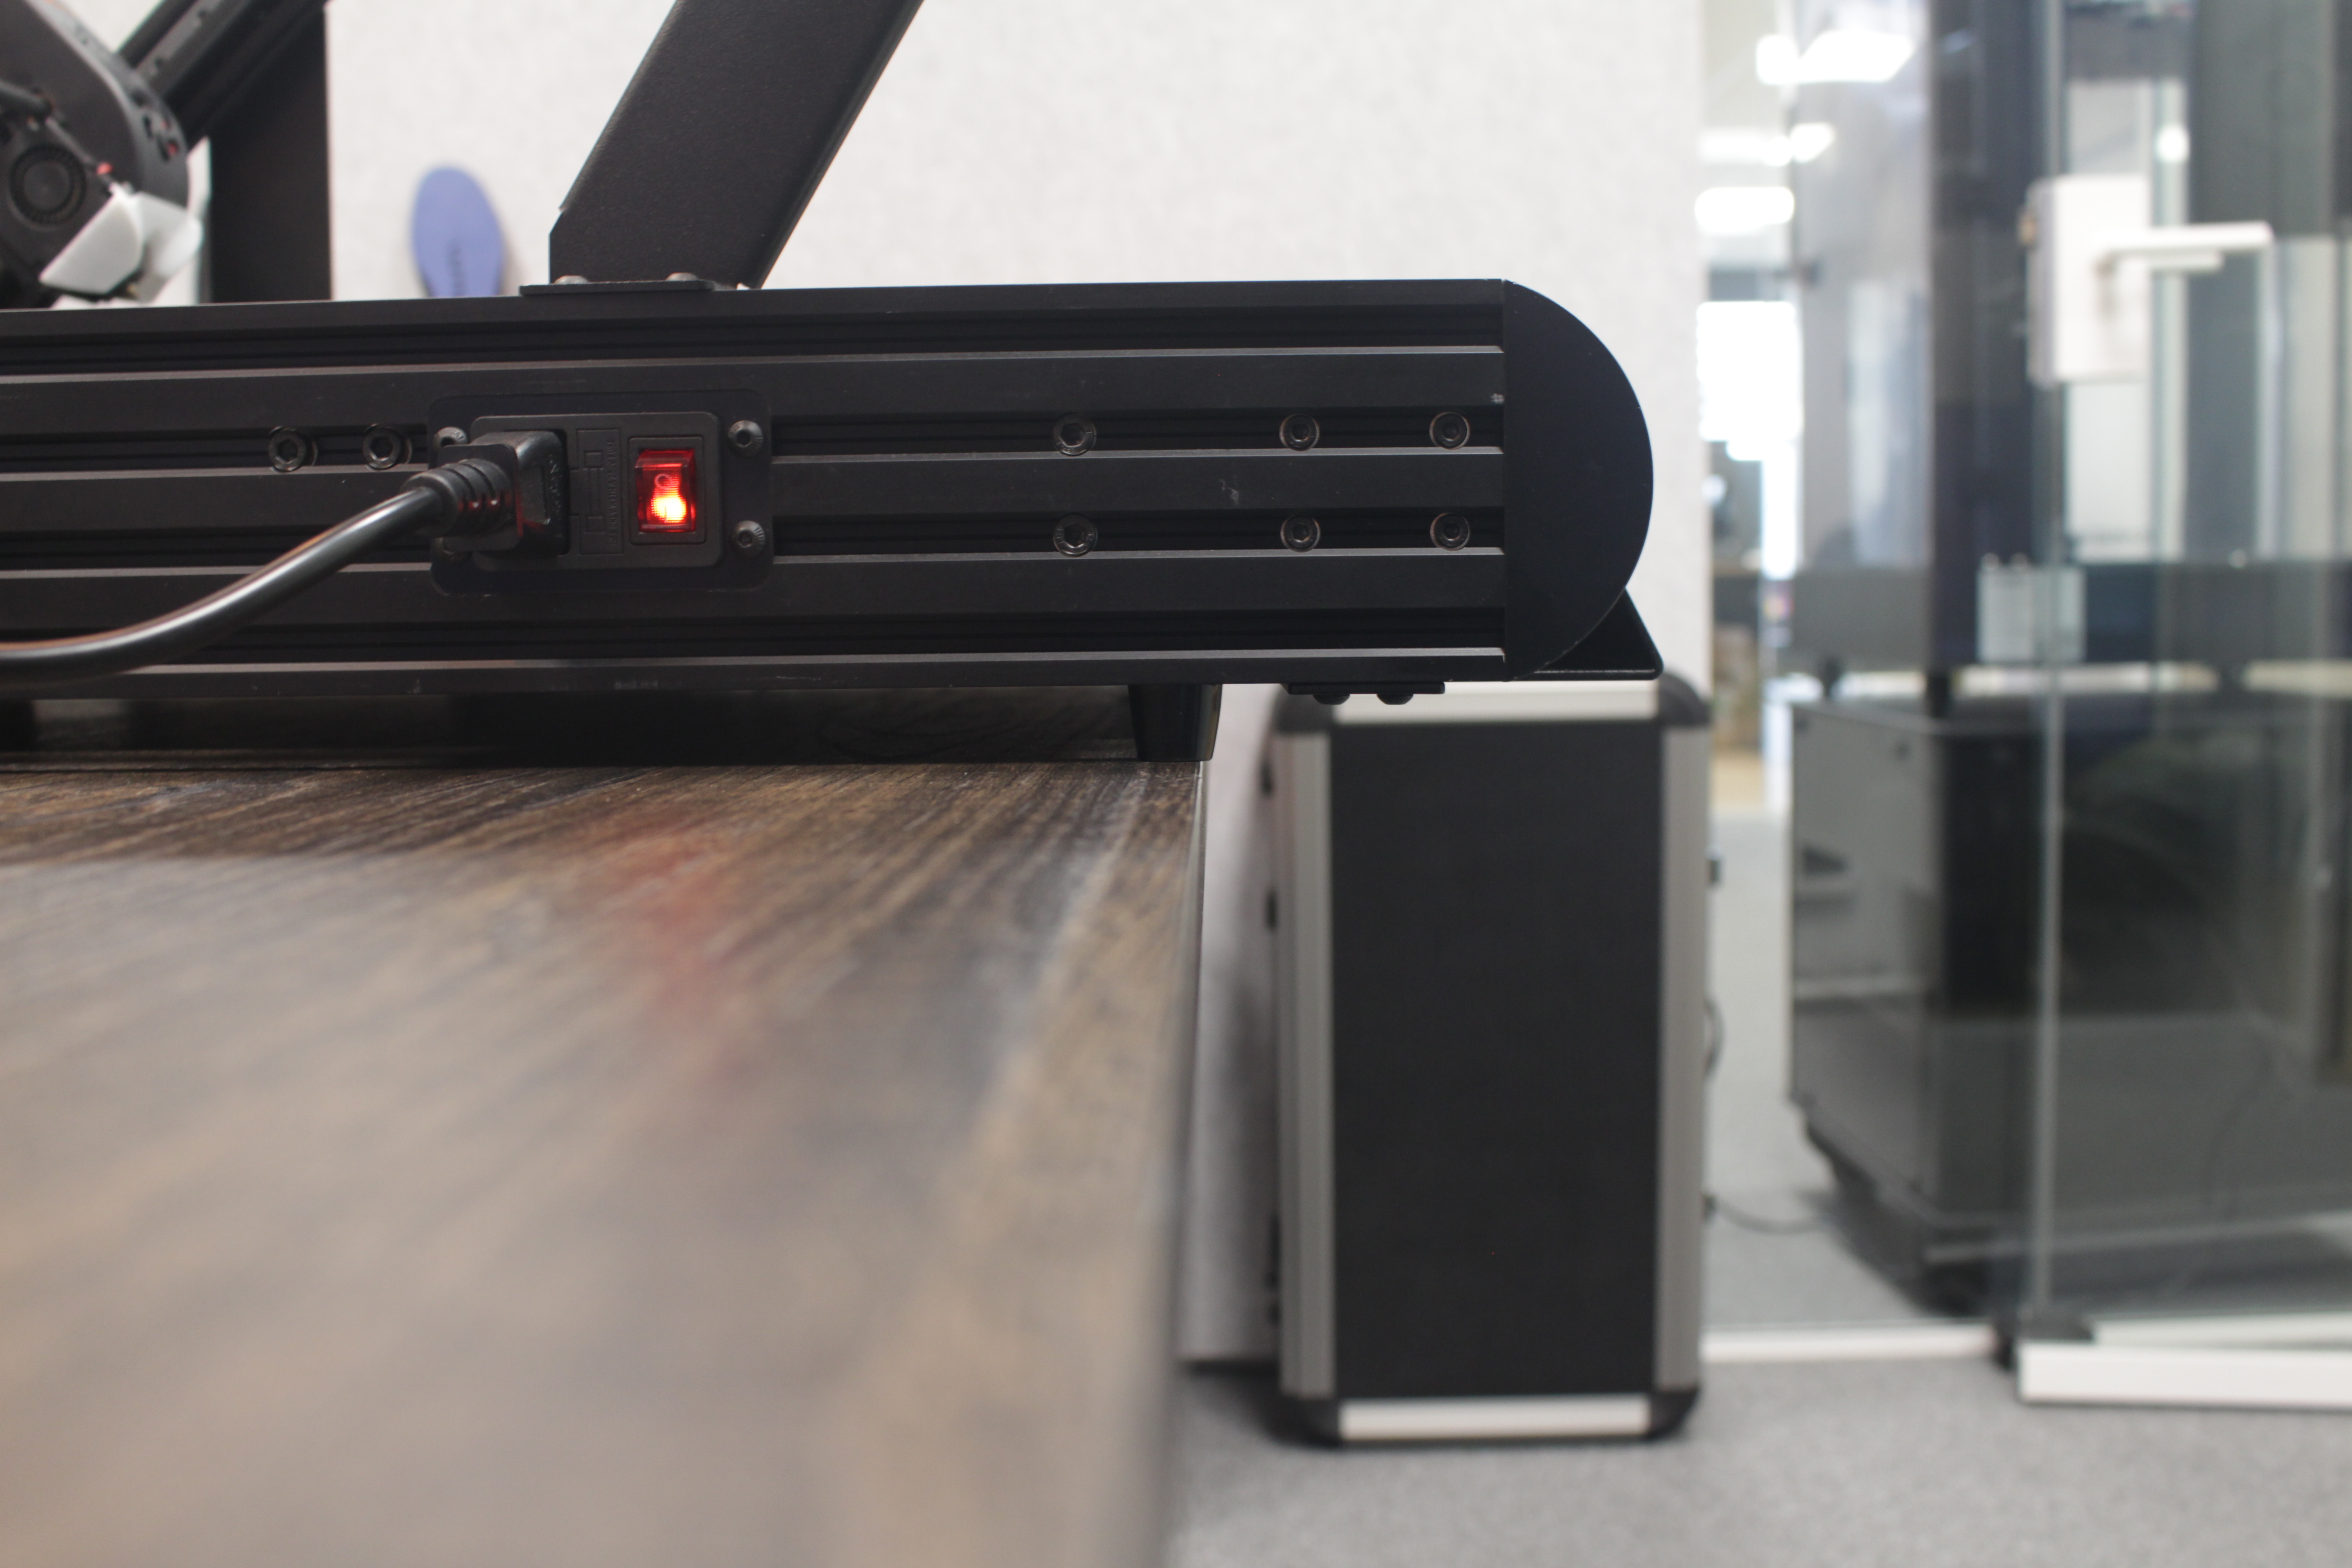
The scraper is held in place by 4 screws on the bottom. 2 screws left, 2 screws right. Loosen the 4 screws, don't unscrew completely.
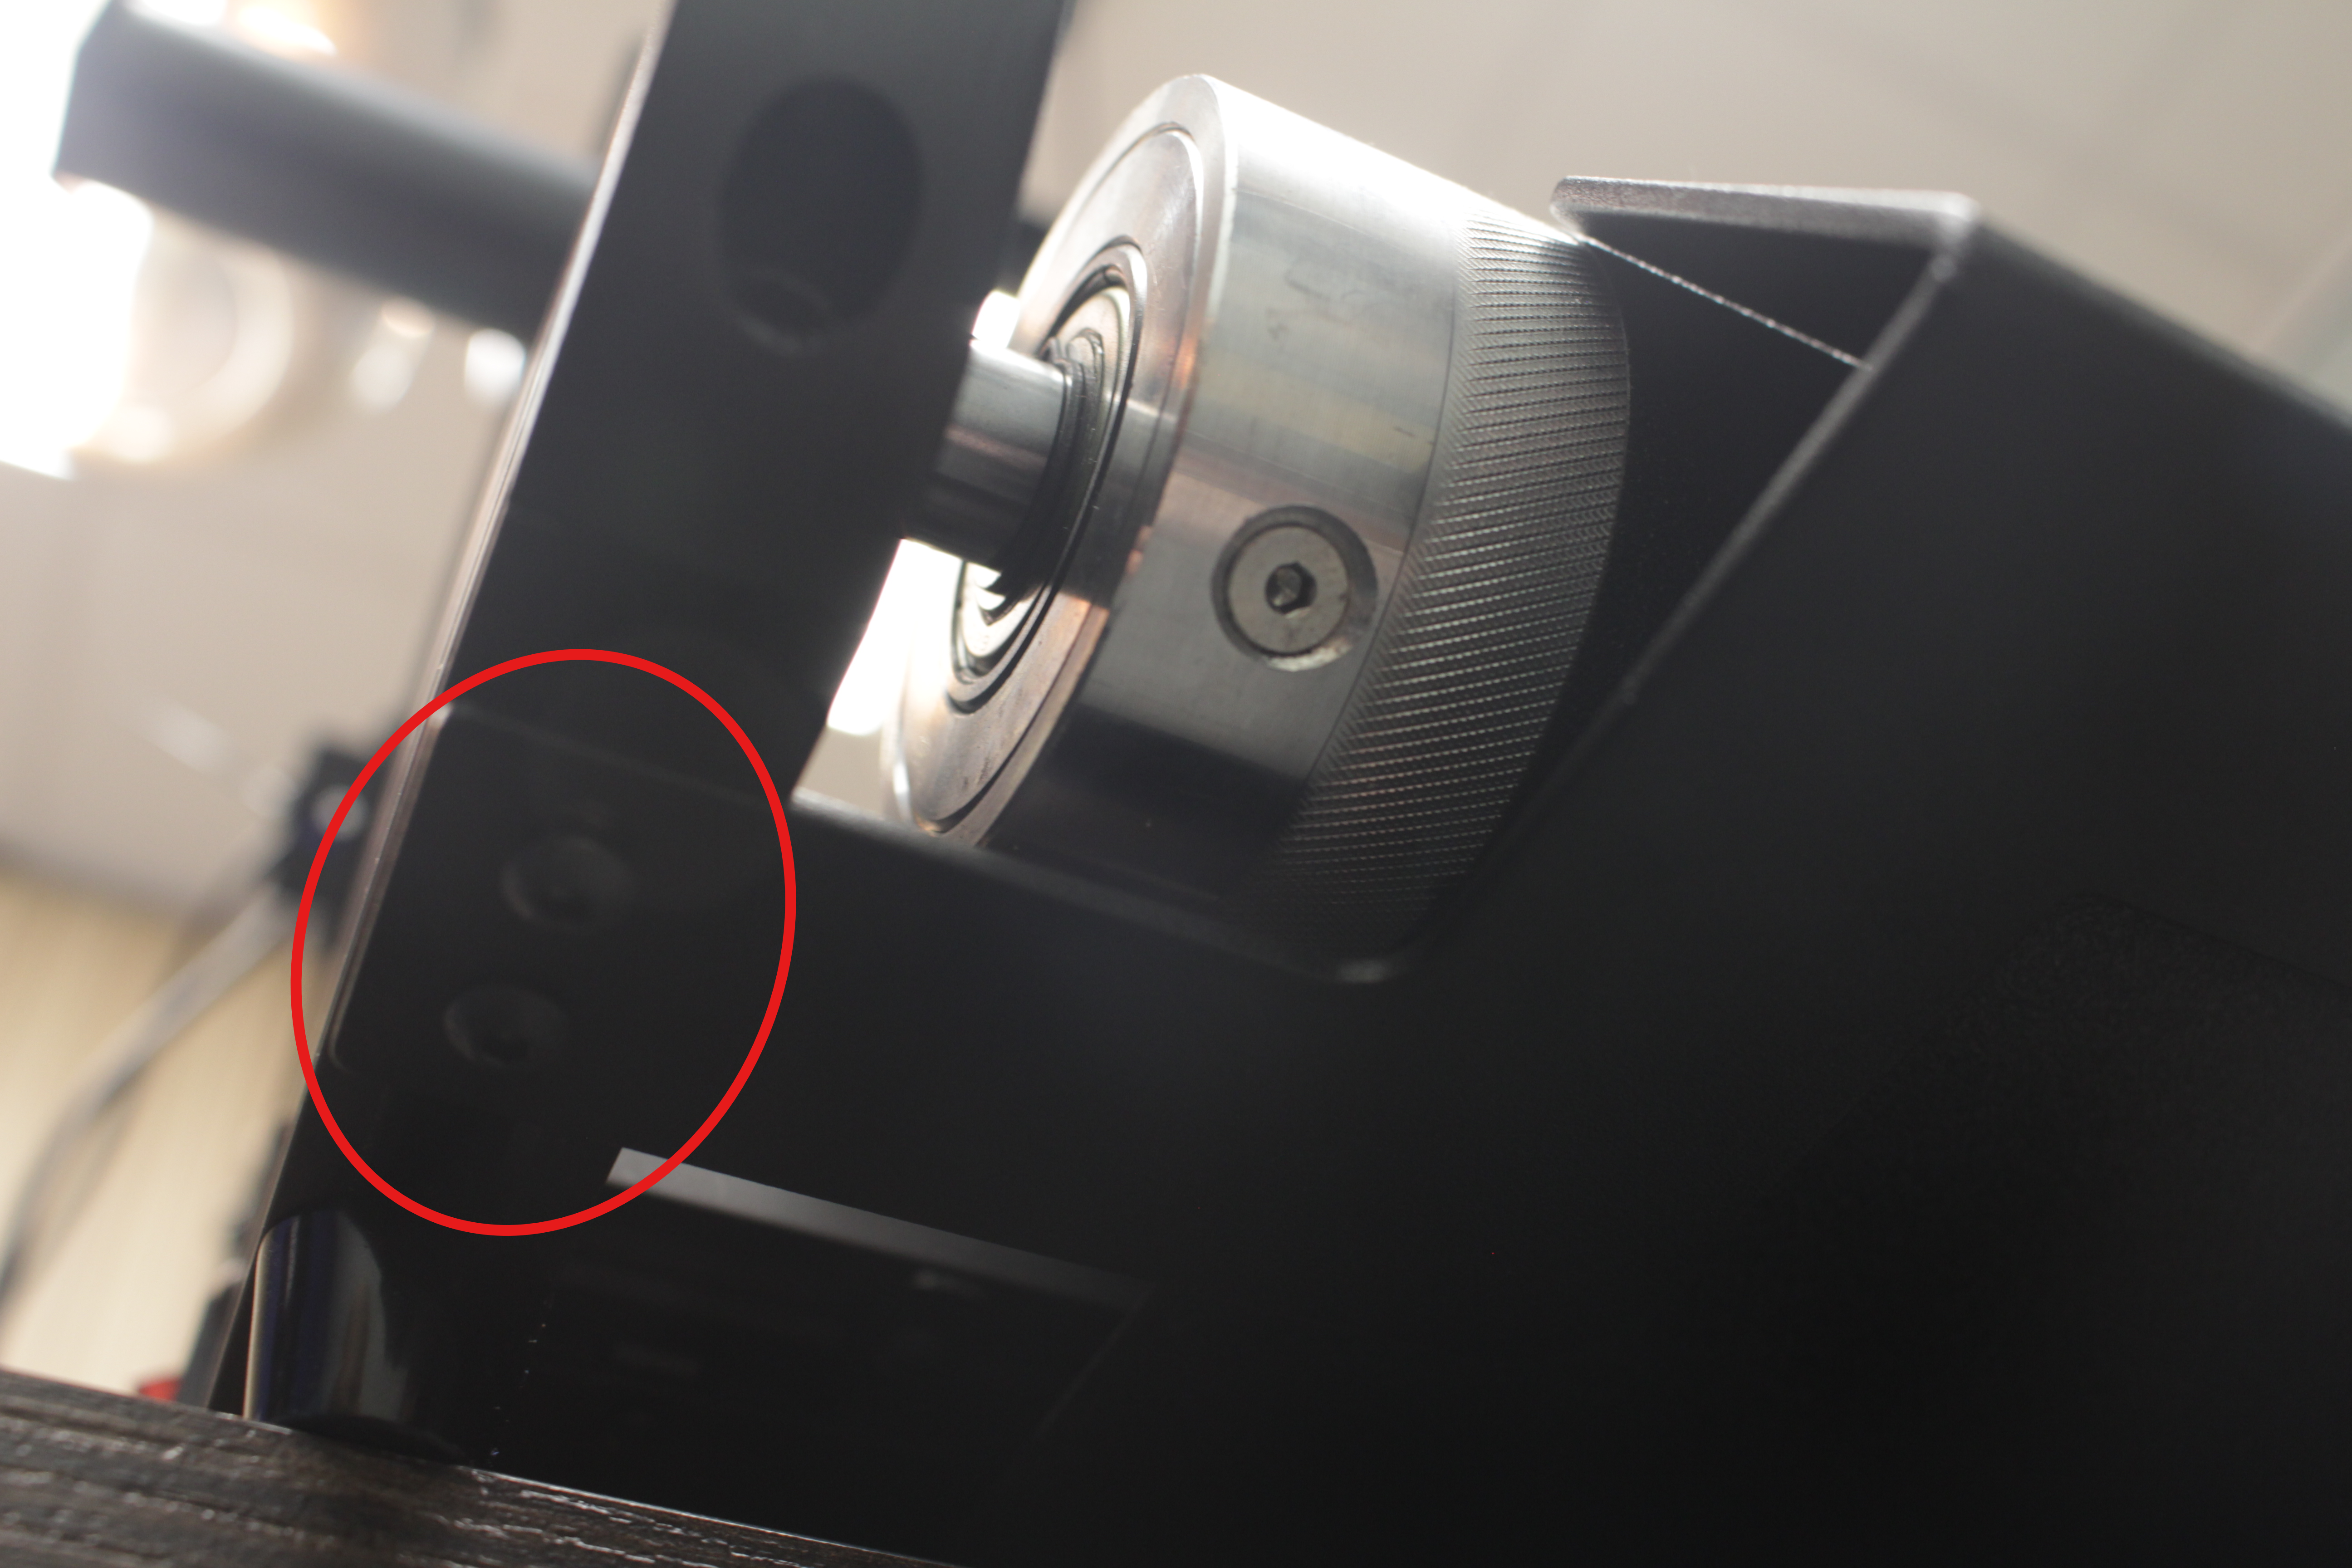
And move the scraper away from the Belt.
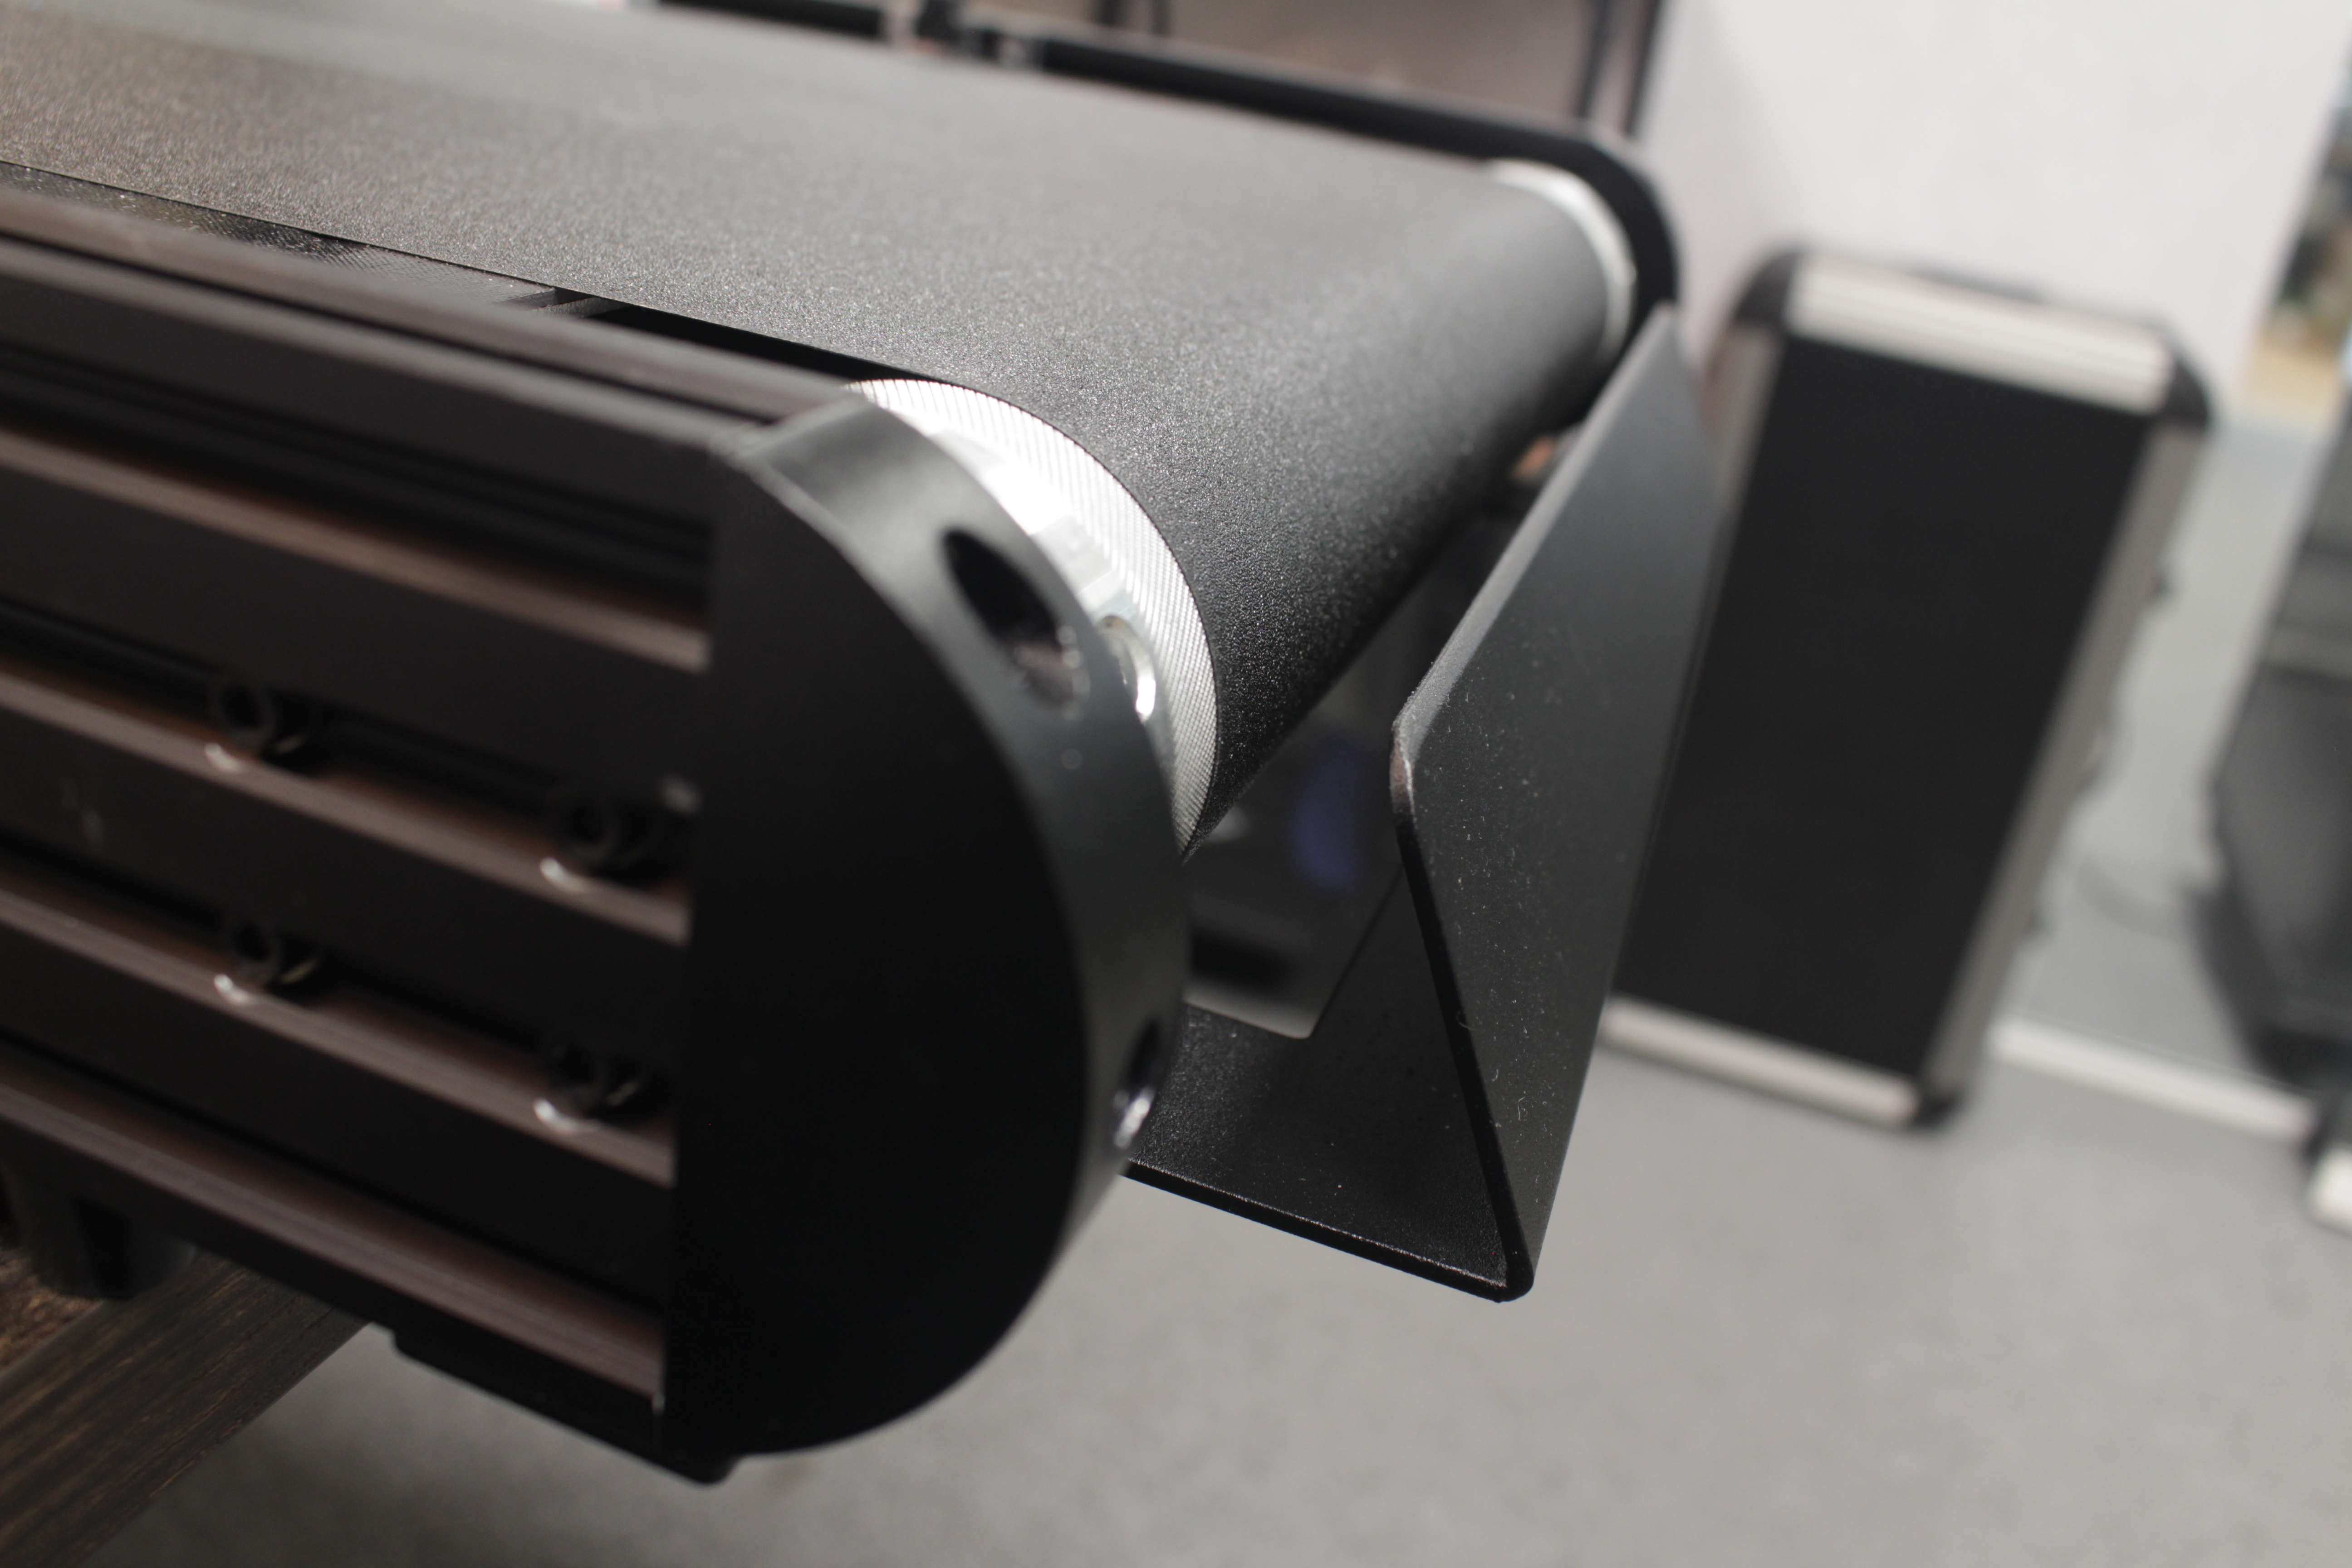
2. Loosen the belt.
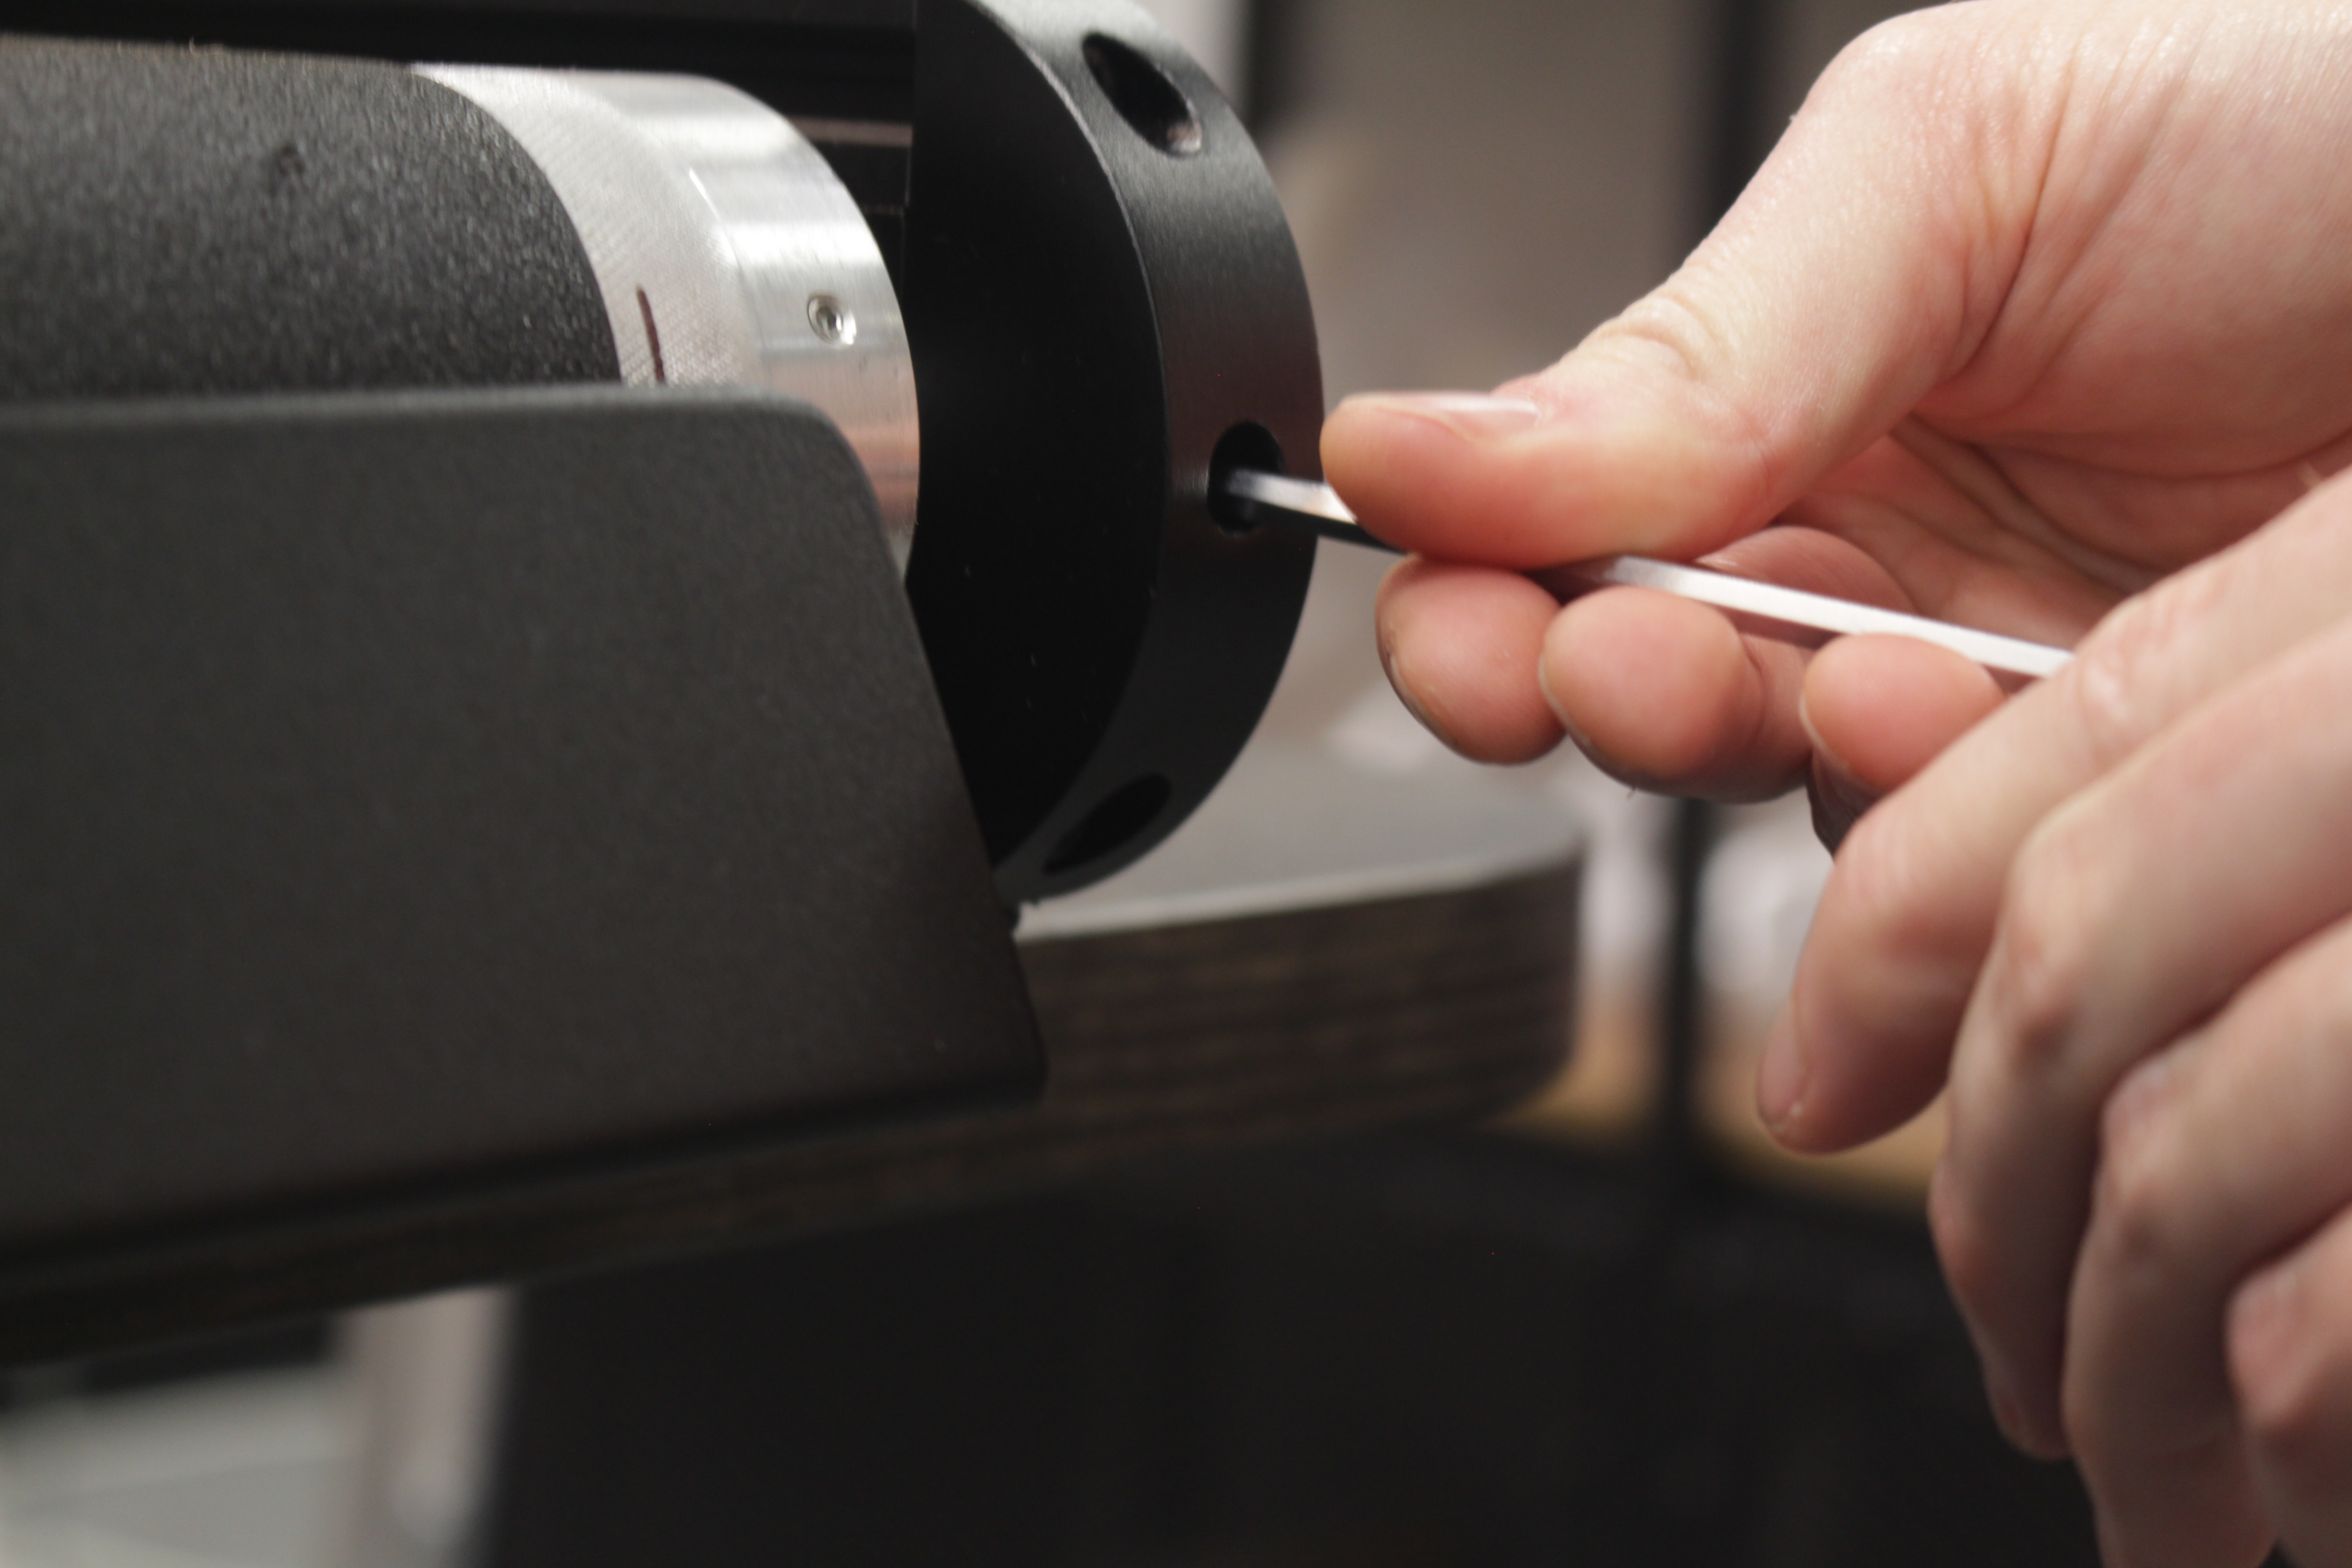
On the front of the printer, on both sides (left and right) there are 2 center screws as shown on the picture. Loosen these slightly to remove tension of the belt. Loosen left and right evenly, 2 full turns on the left screw, then 2 full turns on the right and repeat. This to prevent damage to the belt.
3. Pull the Belt from the plate.
The belt is sticking a bit to the surface, pull it a bit upwards because it is sticking.
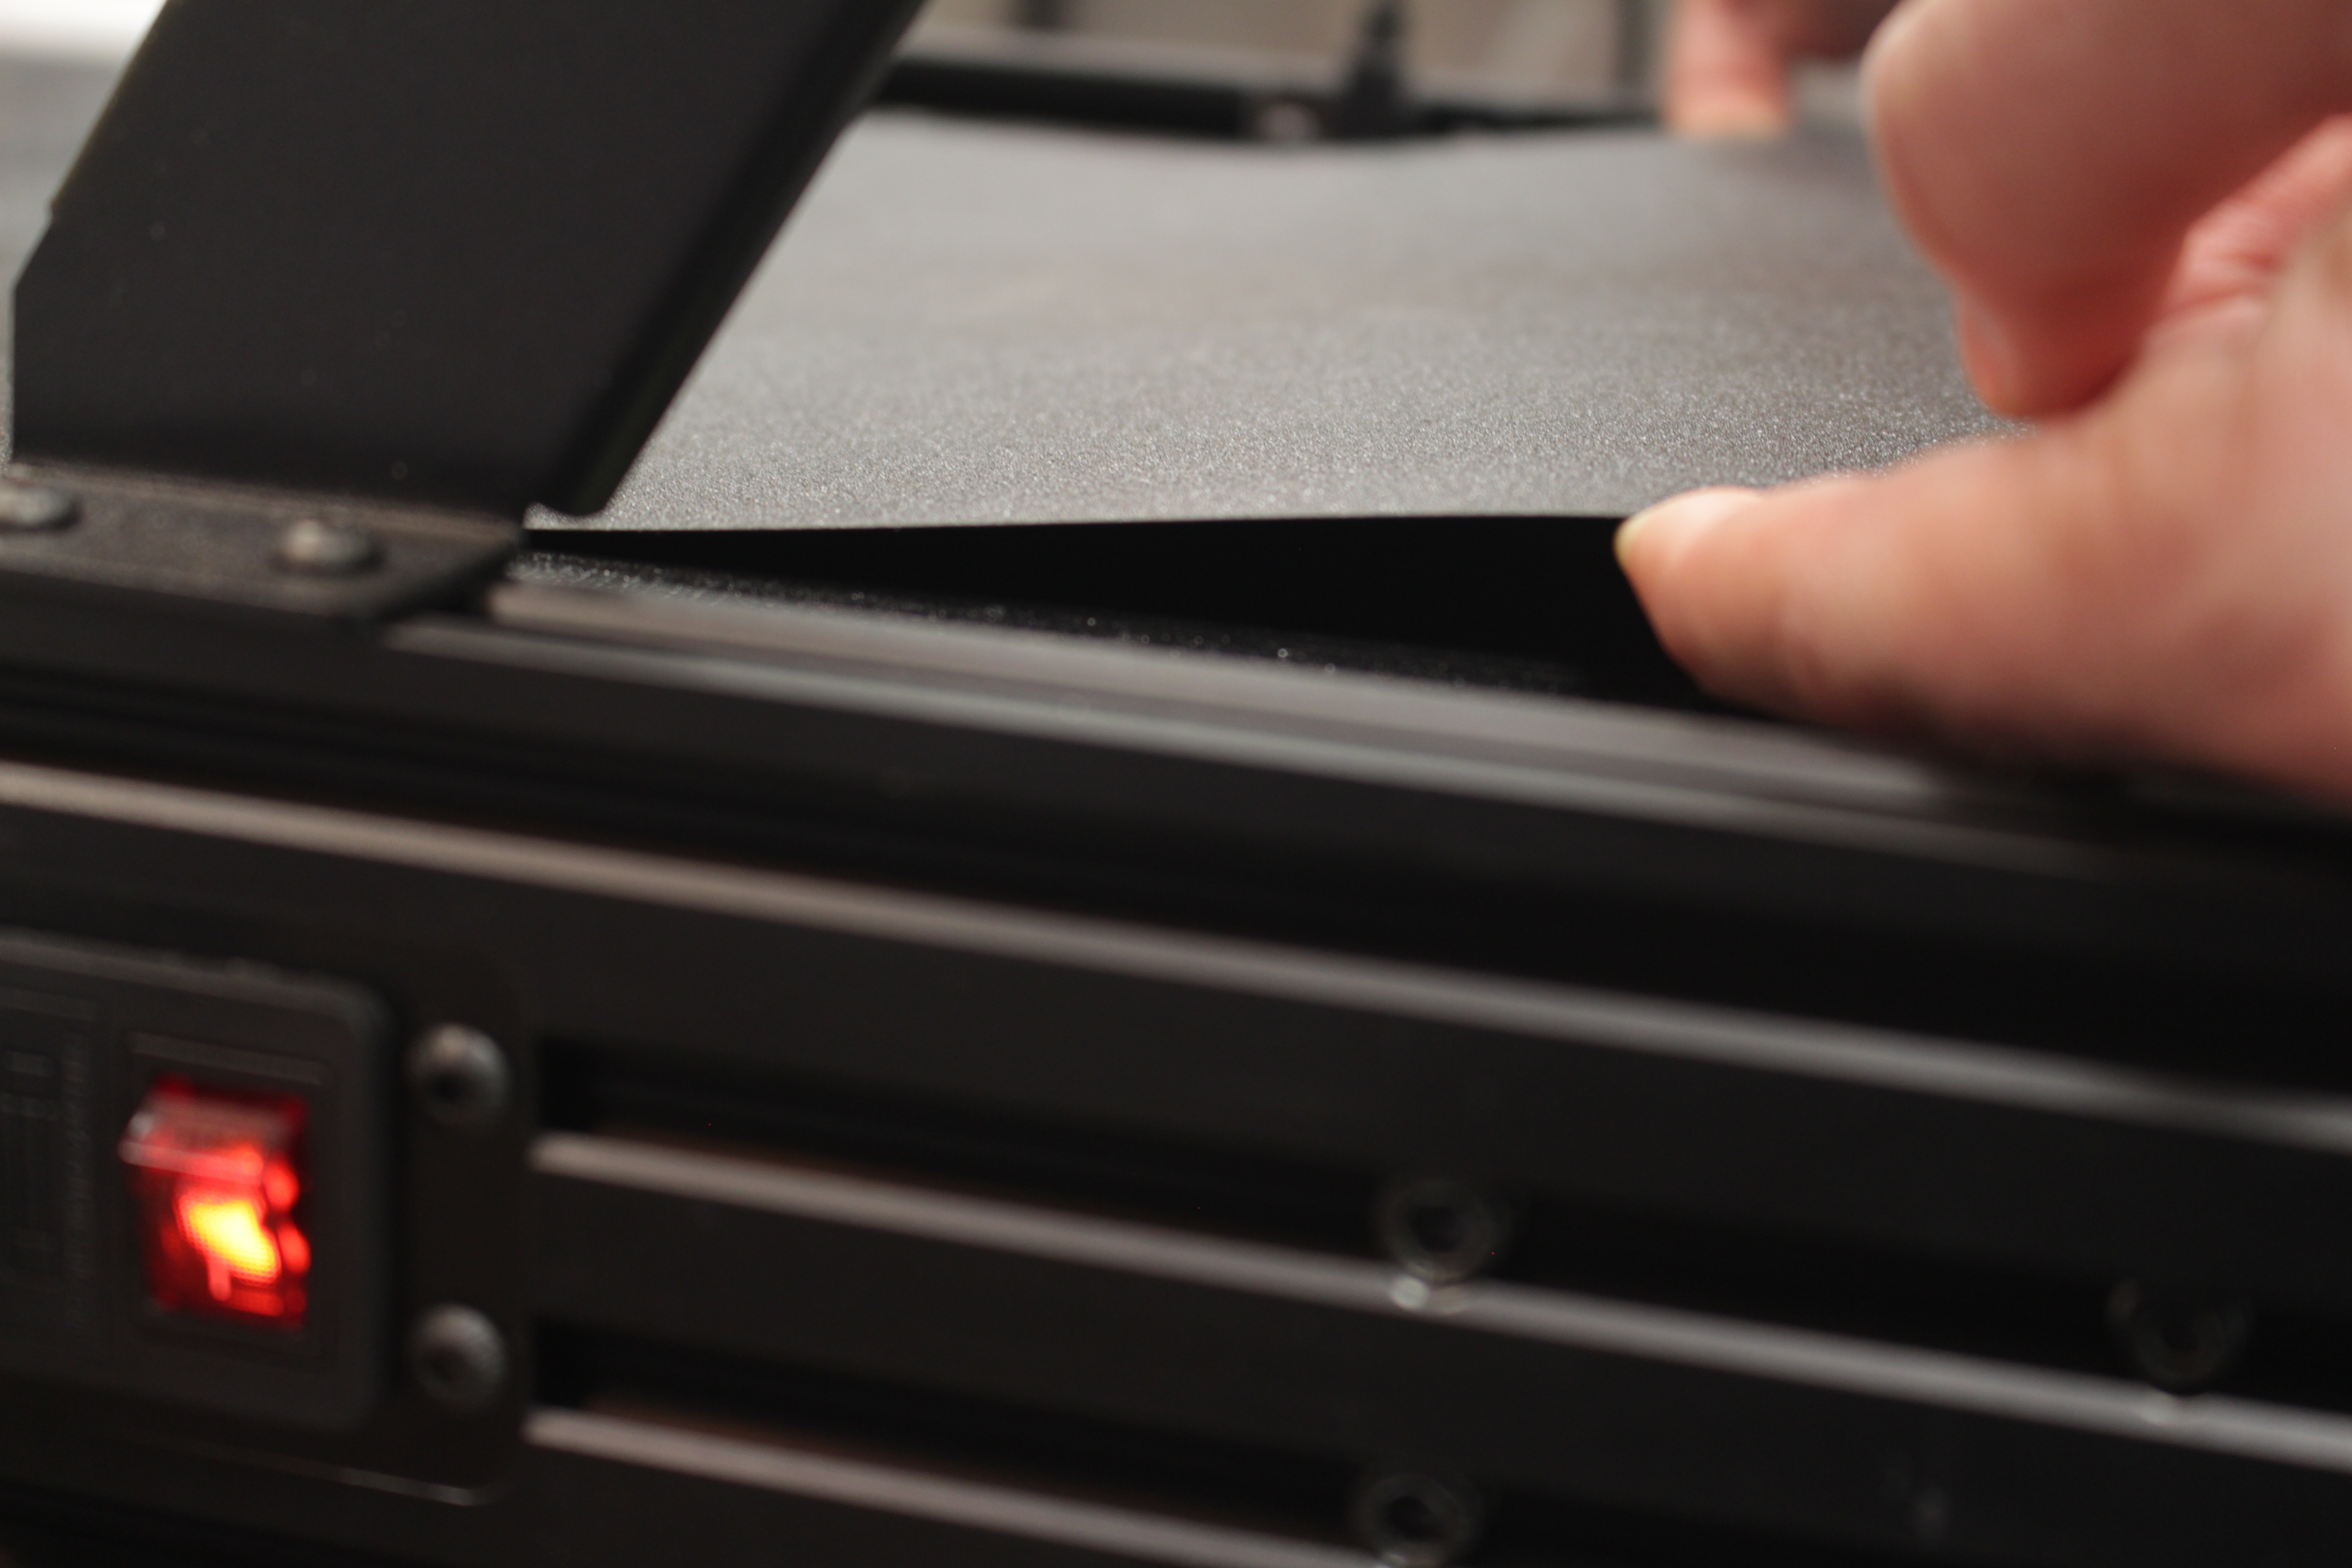
4. Center the belt
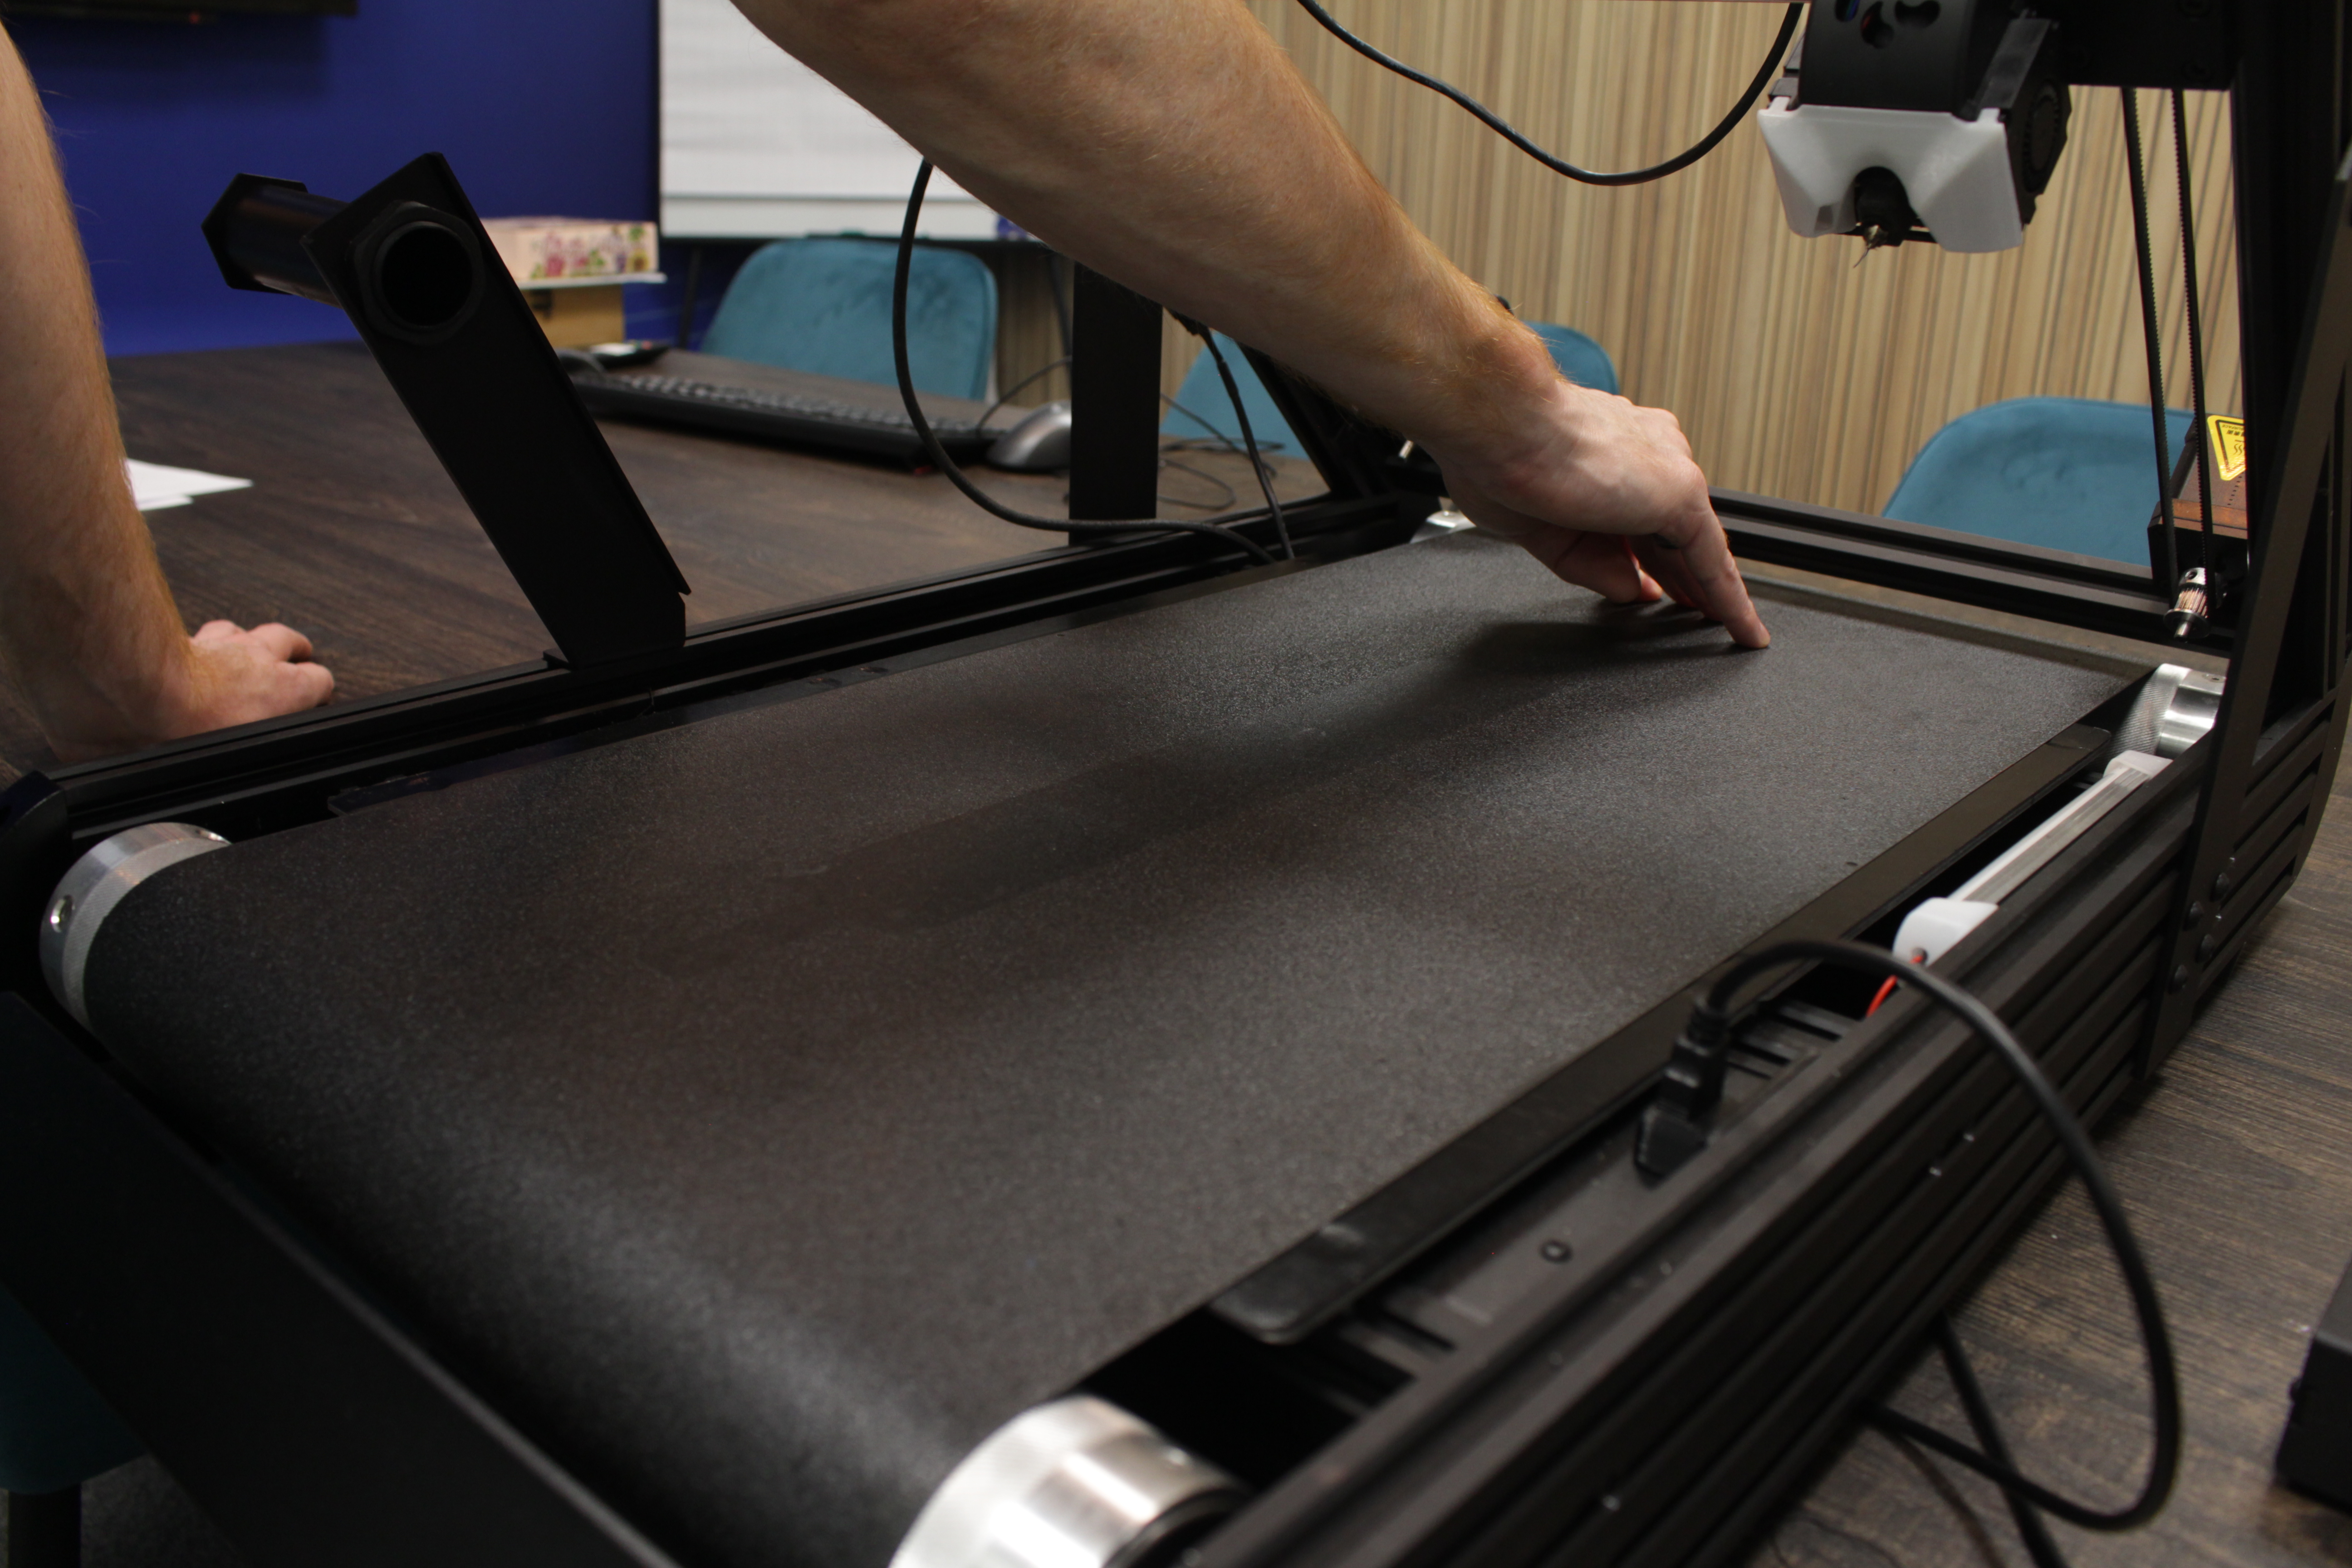
Wiggle the belt to the center, front and back.
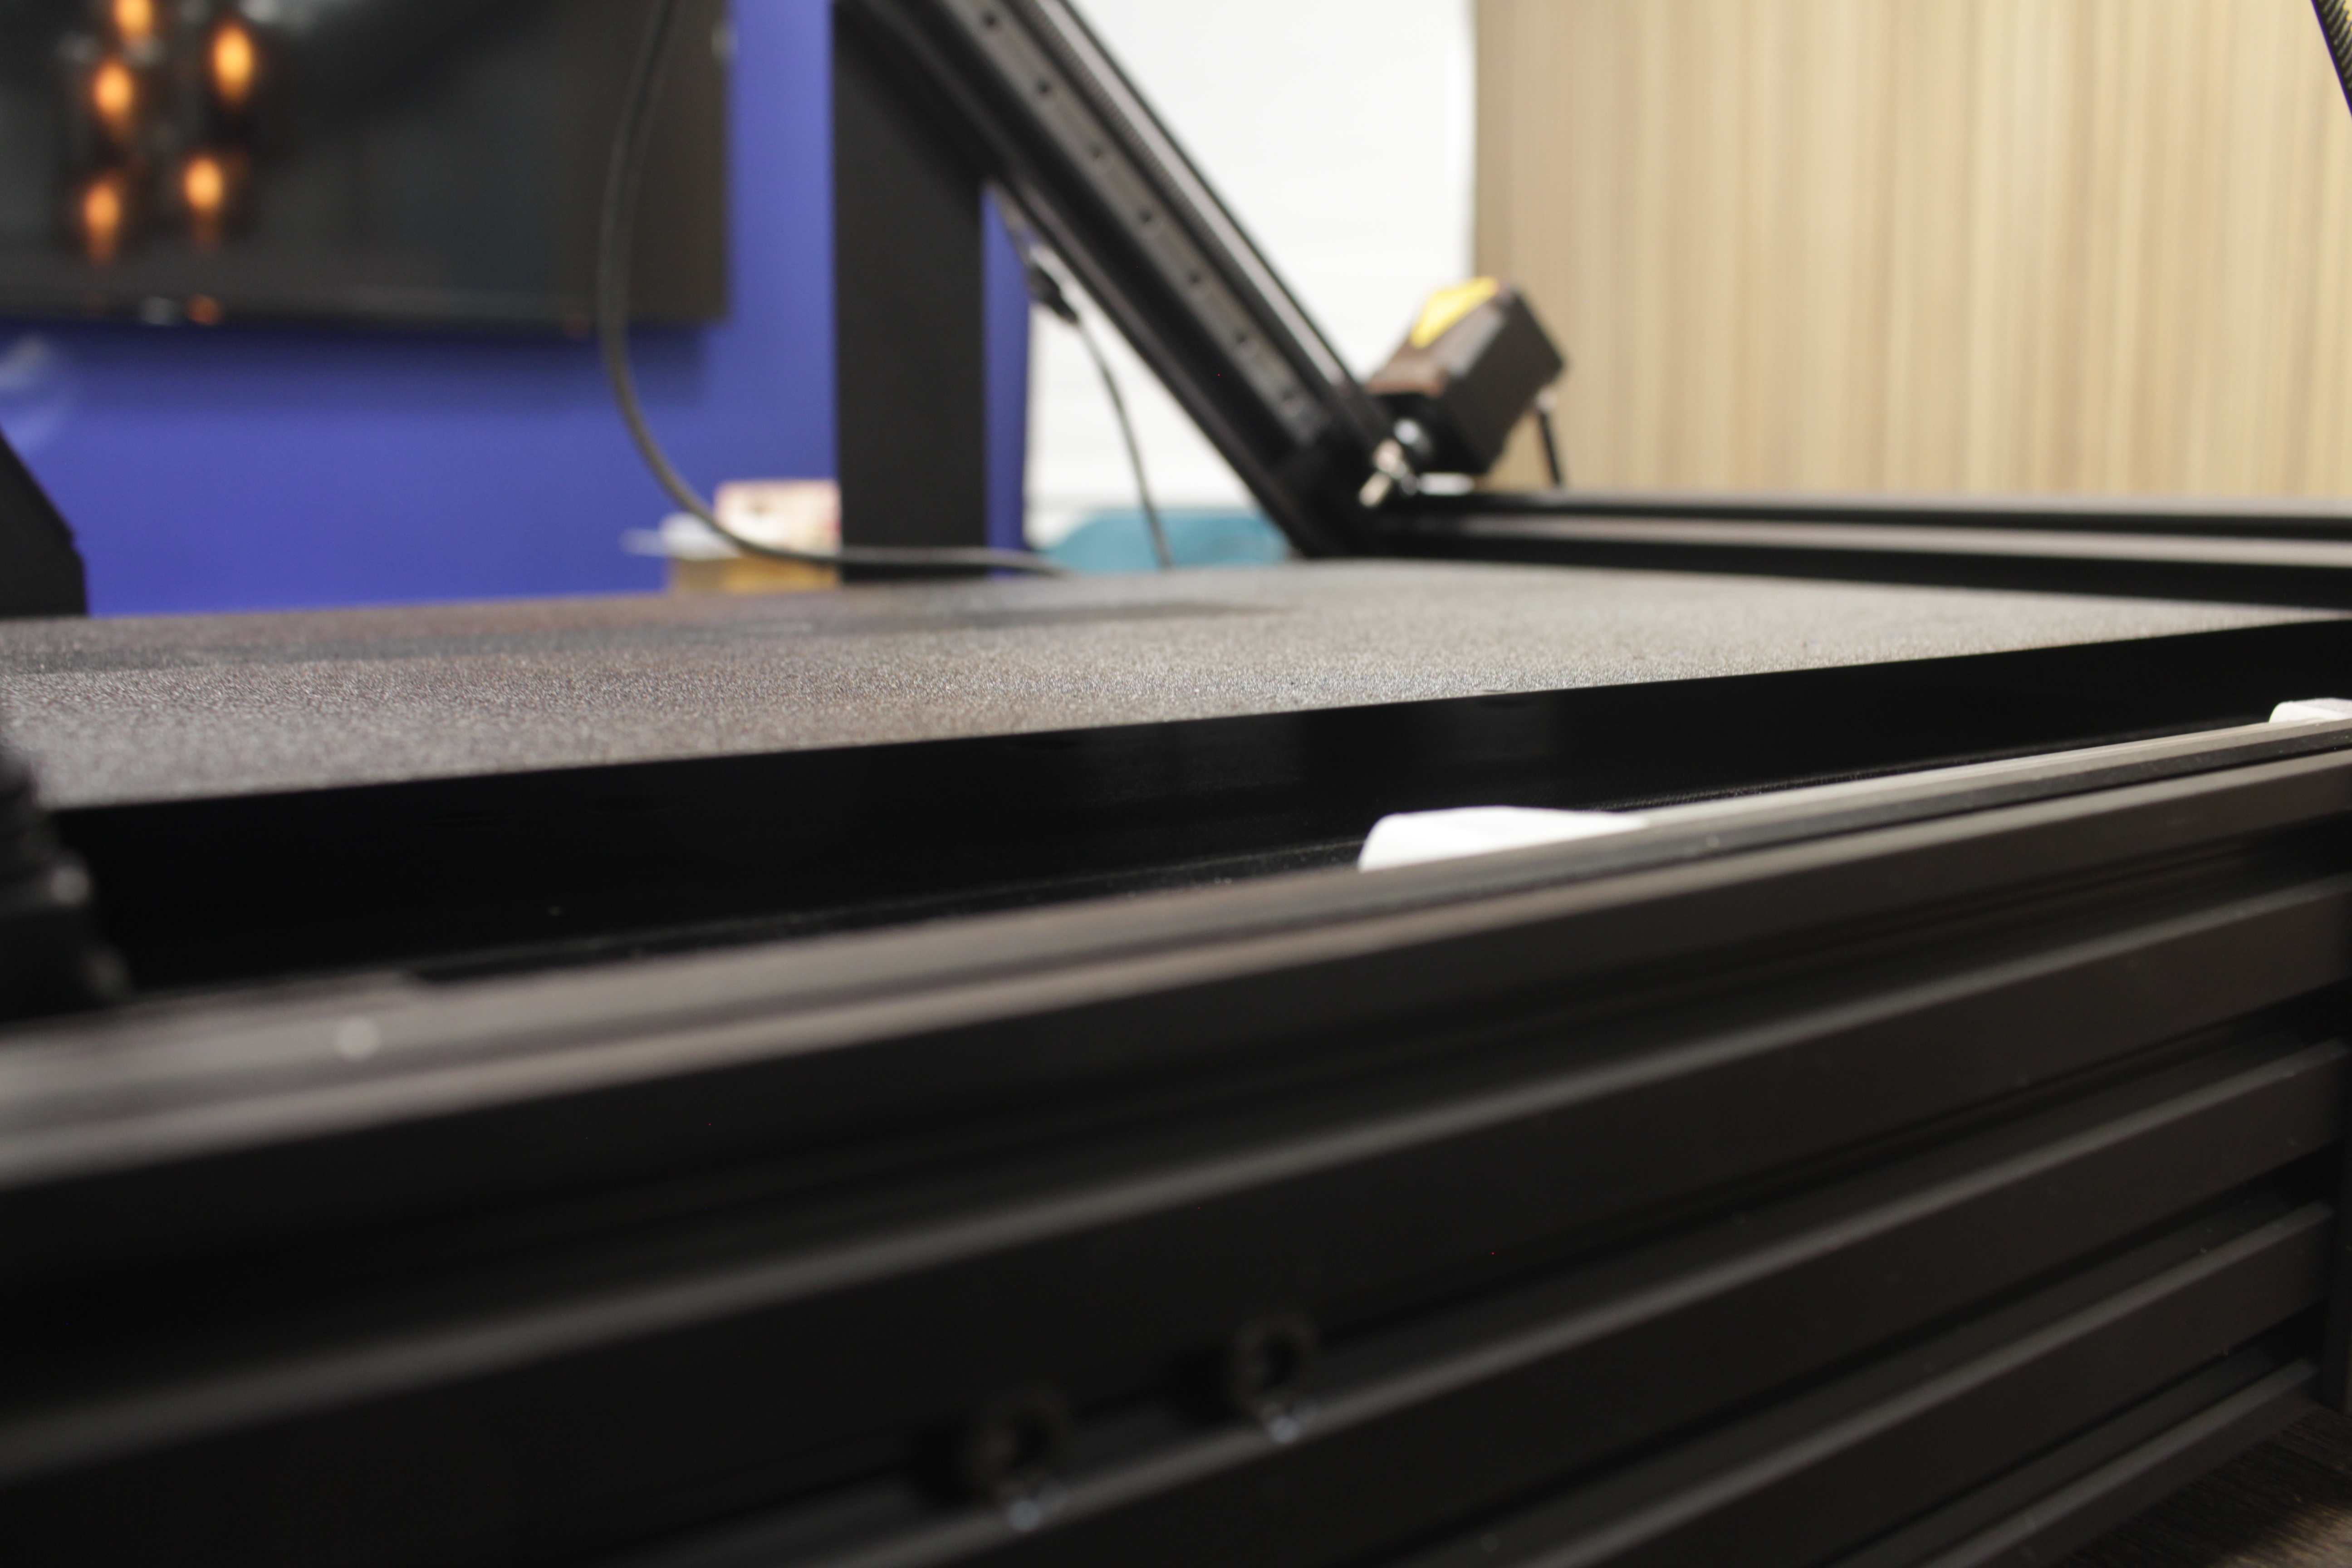
Check distance between the sides of the printer and the belt,
Have the same distance on both sides.
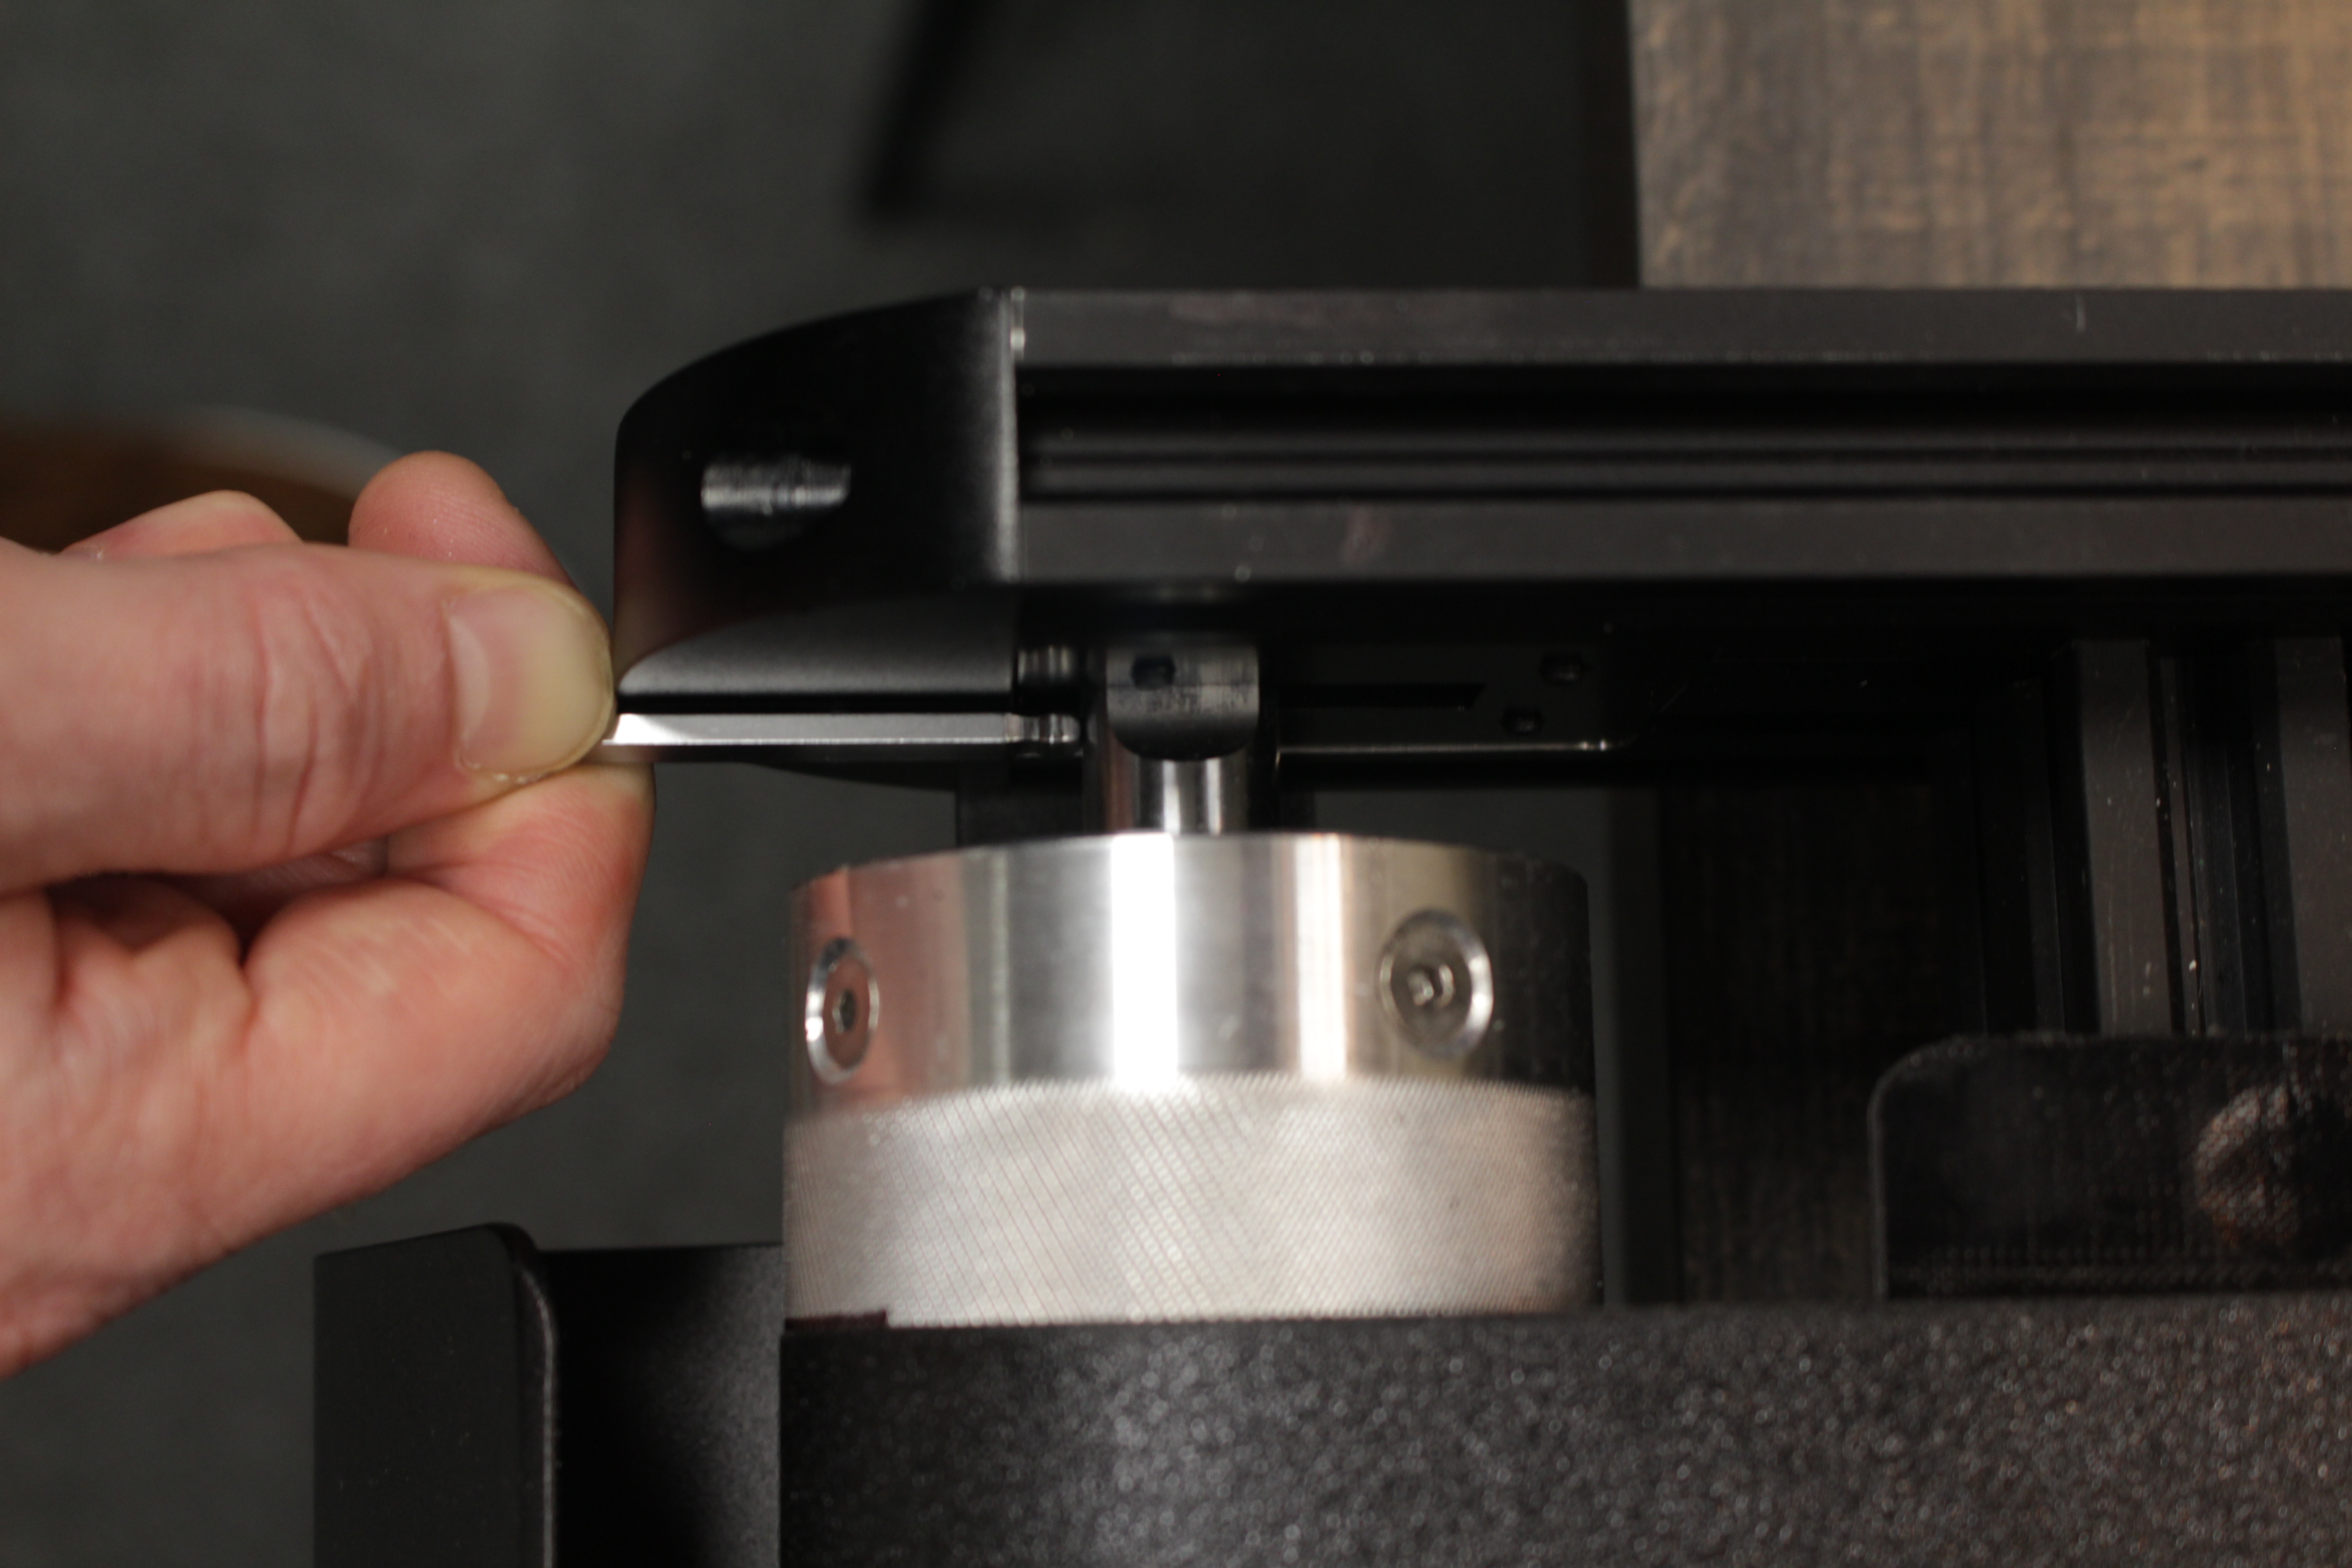
Put markings on the printer so it's easier to see that the Belt is laying straight.
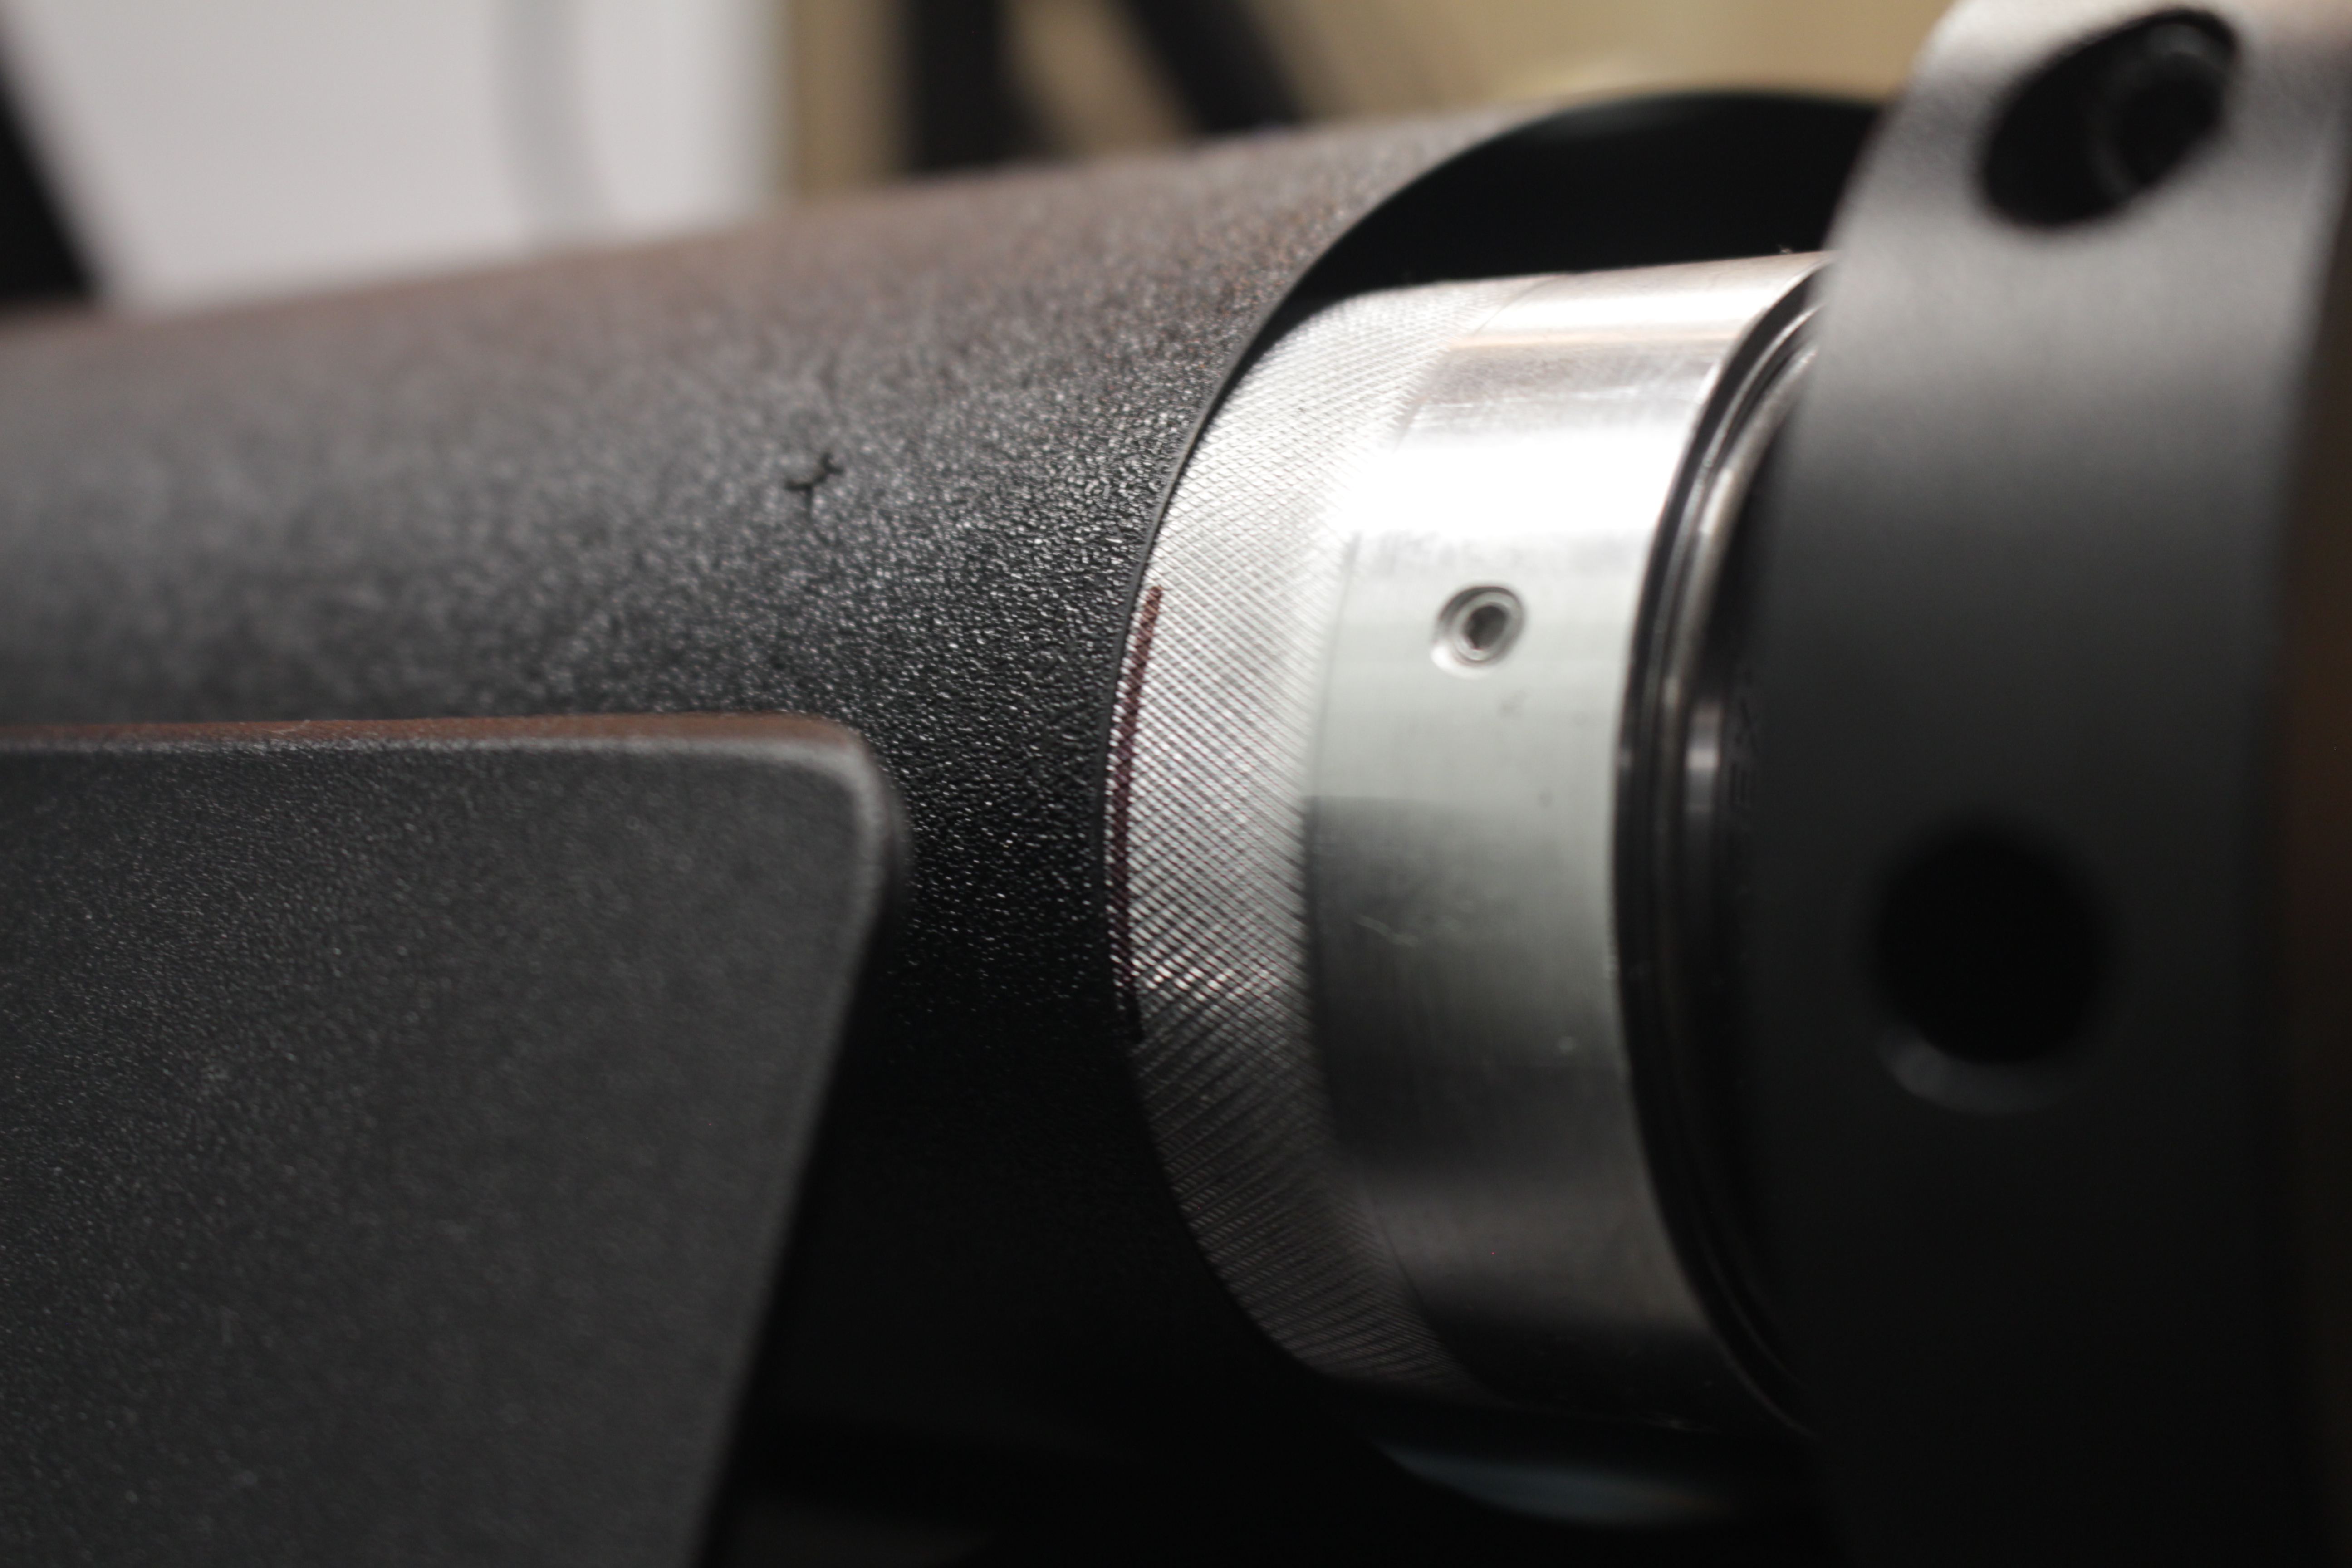
5. Tighten Belt.
Turn the screws one on one, left right left right.
6. Check distance and straightness.
When you can push the belt on the back slightly and moving a bit. It has the right tension. If it is too tight the belt is blocked from rotating and you will have layer shifts, if it is too loose it will not roll.
7. Place the scraper back.
There are three holes on both sides at the front. The tricky holes are for adjusting the belt.
If the belt runs to the left, tighten the right side.